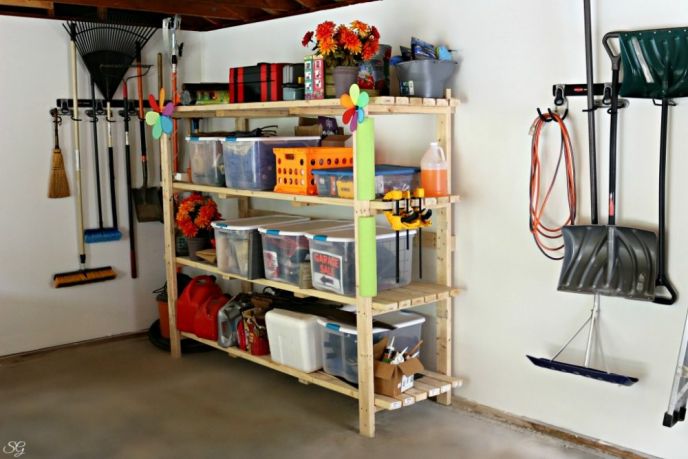
My garage organization game wasn’t very strong, so I needed to do something to help myself get organized. A DIY 2×4 garage shelving unit was definitely in order!
Have you wondered how to build garage shelves from 2x4s? Look no further.
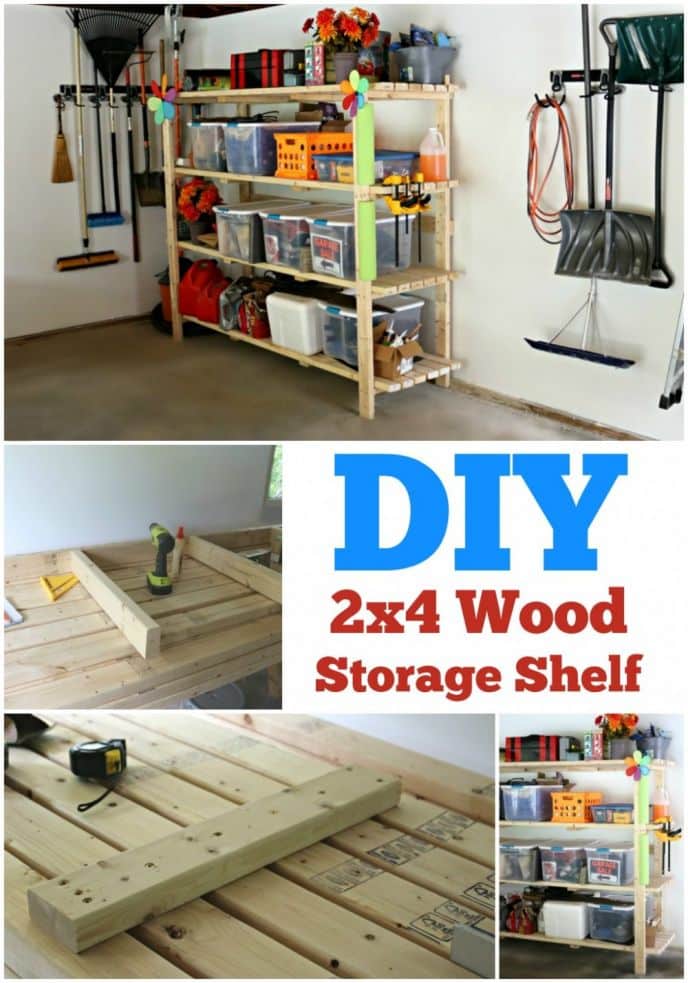
This 8 foot long 2×4 shelving unit cost about a hundred bucks and is a really easy DIY project which should only take an hour or two to complete.
Anyone can do this one! To cap off this garage organization project, we installed hanging rails for our other tools!
2×4 DIY Garage Shelving Unit
2×4 storage shelves plans make it easy to build.
Here’s my tutorial, follow along and built your own garage 2×4 shelves.
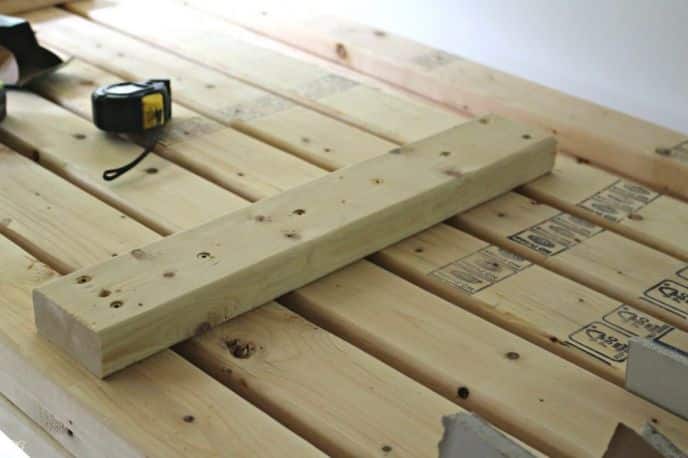
To make this garage shelving unit we’re going to use three things – 8′ long 2x4s, 3 inch #10 SPAX wood screws and wood glue.
I got the SPAX self-driving wood screws which are ah-mazing! They self-drive so you don’t have to pre-drill holes. I love them!
This garage shelving unit can be built in an easy 4 step process. It really is very, very simple to build! The entire footprint of the unit is 8 feet by approximately 2’6″.
- Cut your materials
- Build your frame
- Build your shelves
- Assemble
PS: This was my garage after building this 2×4 storage unit. Since then we installed two Rubbermaid FastTrack Organizers!
2×4 Shelf Materials
2×4 Cuts
- Eight 24″ pieces – NOTE: 4 pieces will come from the 72″ cut offs below – cross sections
- Four 72″ pieces (use the cut-offs for four of the eight 24 inch pieces) – end frame
- Eight 21″ pieces – shelf braces
- Two 86″ pieces – wall braces
- Twenty Four (no cuts) — leave at 8′ long – shelves
Build 2×4 Frame
Begin by assembling the ‘ladders’ which will make up the ends of the unit, holding the actual 2×4 shelves.
I found that adding my cross sections at 6.5″ and then in 21.5″ intervals worked perfectly for the space between and height of the finished shelving.
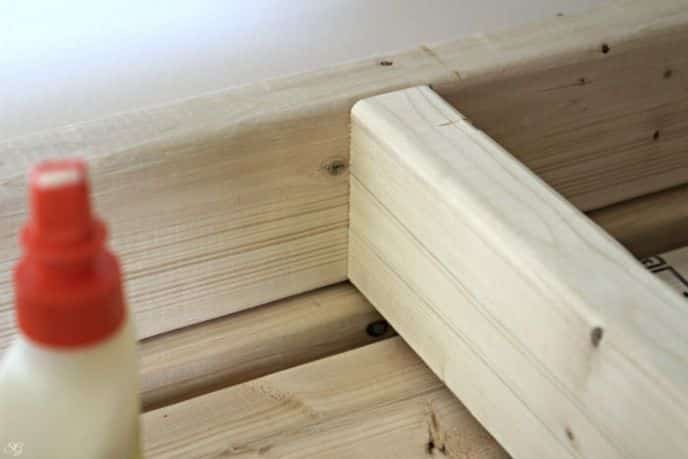
Mark two 2×4’s and attach your 24″ cross section pieces at 6.5″, 22″, 43.5″ and 65″ by wood gluing and screwing two screws through the face of the 2×4, securing each bracket (use these screws, they rock!).
Flip and repeat for the second other side, as see in the photo.
You’ll be forming two ‘ladder’ shapes using this method. See final images for full reference.

Repeat to make two end ladder sections.
Build 2×4 Shelves
Build 4 shelves! To build your shelves, attach 21″ braces, 24 inches from each end, across six full length 2x4s.
Space each 2×4 about 1/2 inch apart. I cut up small pieces of sheetrock to use as spacers between each 2×4 while I attached the cross braces.
Repeat to build four shelves.
Assemble 2×4 Garage Shelving Unit
Attach the two 86″ pieces (braces) to the wall – the long way.
Screw directly through the 2x4s and into the studs. You can attach these at any height below 72″. I attached one at 70″ and one at about 3’6″ from the floor.
The attach the end sections to the braces. The 6.5″ shelf cross section should be at the bottom, closest to the floor on both end sections.
Note: You can assemble the braces and the end frame pieces on the floor and lift them into place.
I didn’t have the space to do so with all the unorganized stuff in my garage, but you certainly can do it that way.
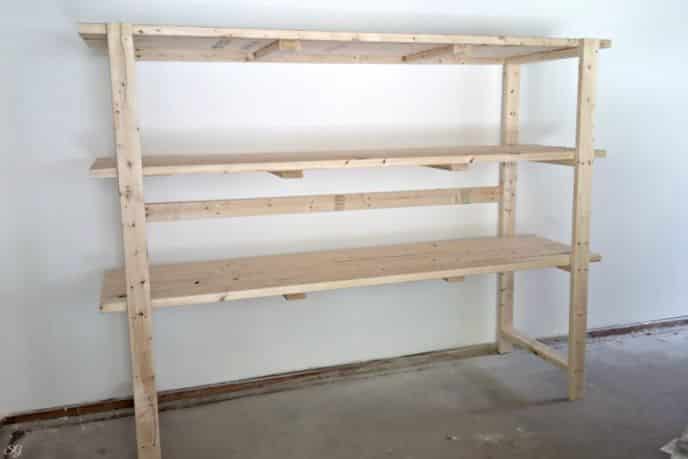
Once your braces are attached to the wall and your end sections are attached to the braces, it’s time to install your shelves!
Slide your shelves into place, leaving an overhang of 5 inches on each end.
Screw through each shelf 2×4 to attach the shelves to the end sections.
Repeat for all 4 shelves.
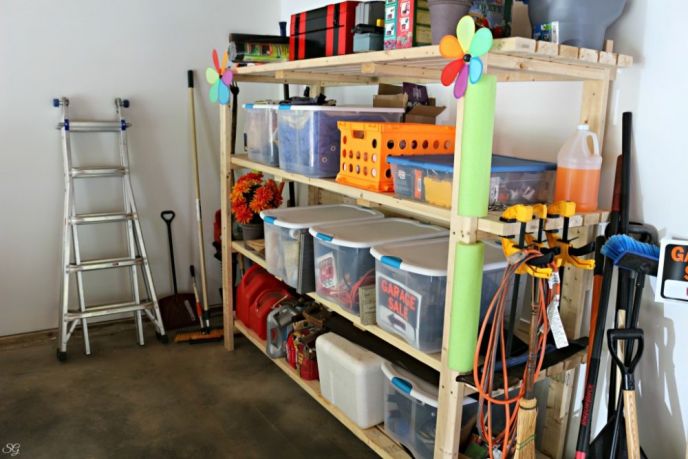
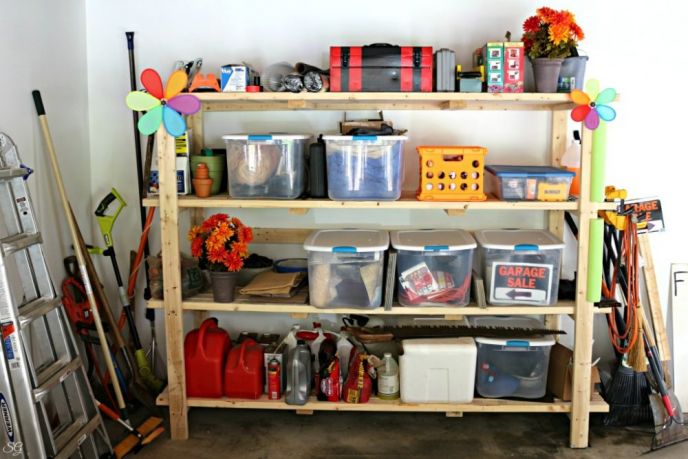
Organize Your Garage
Now fill up the shelves and see how I used the Rubbermaid FastTrack rails to hang everything from my ladder to rakes, shovels, and more! See my Rubbermaid FastTrack post to see how this came together.
Buy FastTracks Rail + Accessories → FastTrack rails

Garage Storage Solution
I used clear organizational bins to organize most of my things. I was going to get color coded bins and label them, but Katie talked me into clear bins — so glad she did!
The clear bins work great and I can kind of see whats inside because the light goes through the sides into the bins — unlike solid color bins which would be dark and a pain to see into, especially in the dark garage!
- Like
- Digg
- Del
- Tumblr
- VKontakte
- Buffer
- Love
- Odnoklassniki
- Meneame
- Blogger
- Amazon
- Yahoo Mail
- Gmail
- AOL
- Newsvine
- HackerNews
- Evernote
- MySpace
- Mail.ru
- Viadeo
- Line
- Comments
- Yummly
- Send in Text
- Viber
- Telegram
- Subscribe
- Skype
- Messenger
- Kakao
- LiveJournal
- Yammer
- Edgar
- Fintel
- Mix
- Instapaper
- Copy Link
Comments are closed.