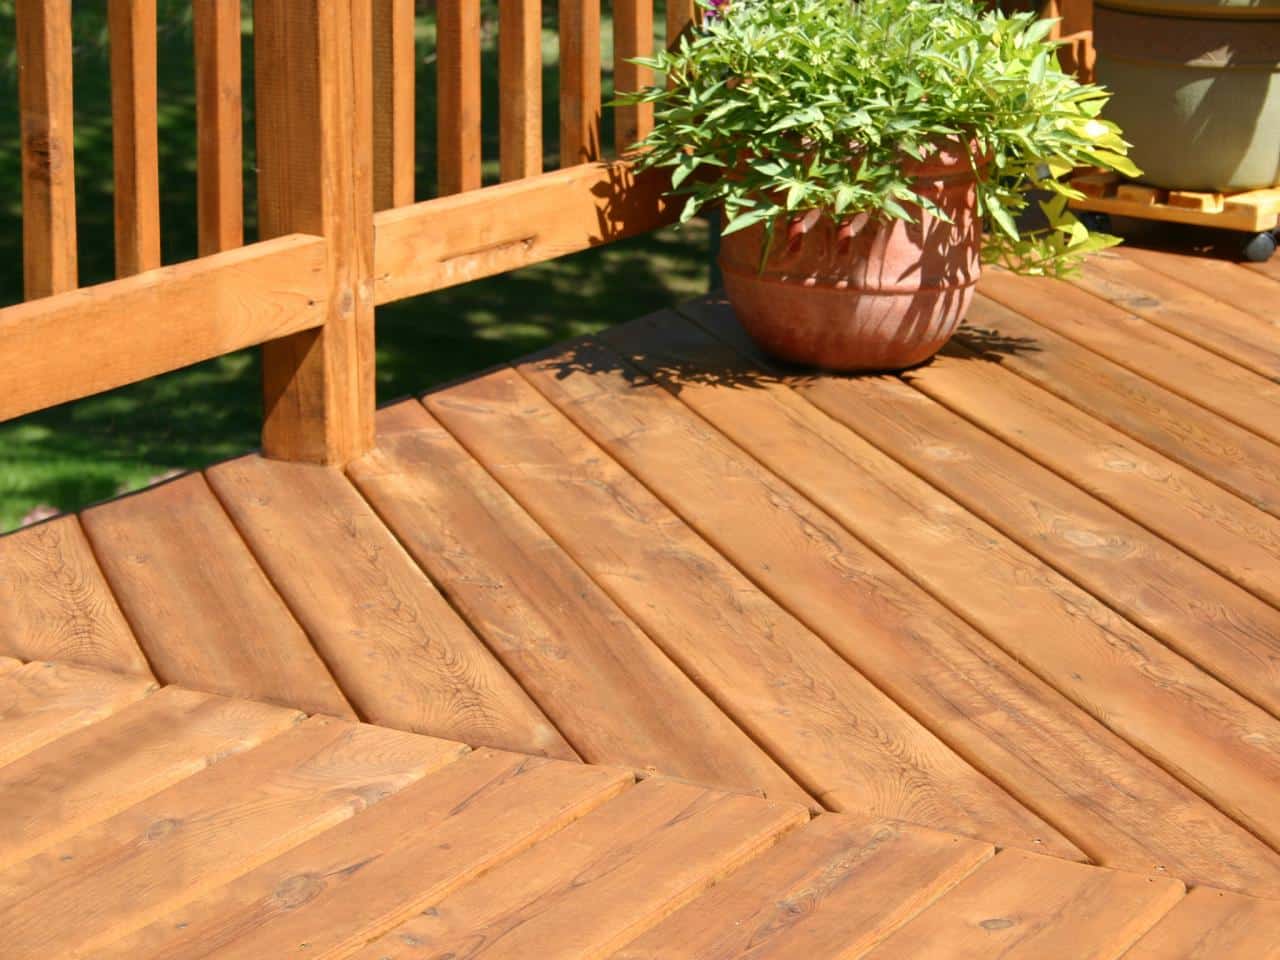
Apply a fresh coat of deck sealer every year or two to keep your wooden deck look beautiful.
A backyard deck uplifts the overall feel of the home. But keeping the deck in good shape is not easy. As a homeowner, you must apply sealant regularly to protect against temperature fluctuations, sun, and rain.
Decking contractors are available for this service, but you can seal a desk on your own. Easy DIY deck sealing work lets you save more than $500. So, it’s a win-win.
Let’s dive in to understand how to seal a wooden deck.
Steps to Seal a Wooden Deck
Sealing a wooden deck is fairly easy because includes two parts: cleaning and applying deck sealer.
The durability and finish of deck sealing depend on the type of sealant you have selected for the work. Then you need to follow the steps mentioned below to get the job done right.
#1 Cleaning the Deck
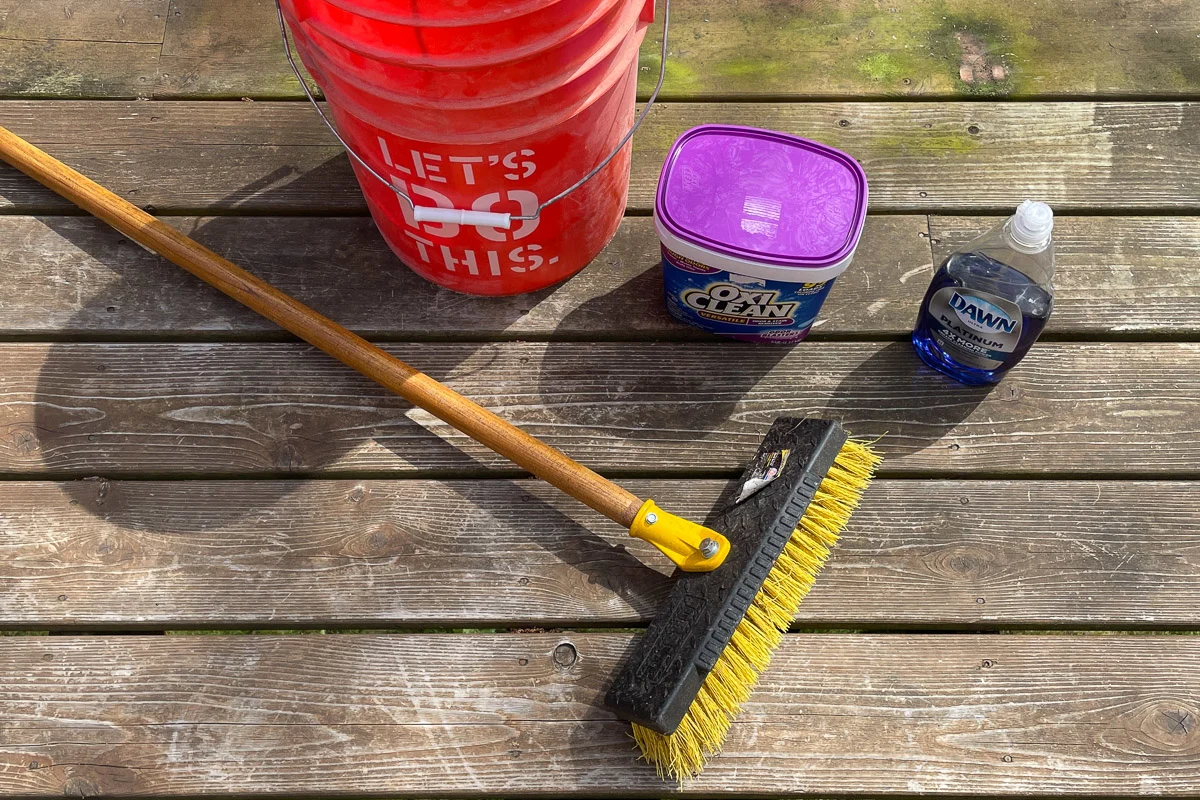
Before you start applying sealant, properly clean the deck to remove debris from between the boards using putty knives and screwdrivers. Then thoroughly sweep the deck.
Use a cleaner to clean and prepare the deck for sealer. In case your redwood or cedar deck has molded, use a deck brightener to remove the stains. Remember to cover the nearby plants and shrubs with plastic so they don’t get damaged during the process.
You can use a bristle brush, paint roll, or garden spray to apply the cleaner on the deck. Always apply cleaner on the posts and wood railings from bottom to top. Working from top to bottom can splatter the cleaner on the dry wood, which is difficult to remove.
Let the cleaner stay on the deck for some time, and then rinse thoroughly. Once the deck completely dries, you can proceed with the deck sealer application work.
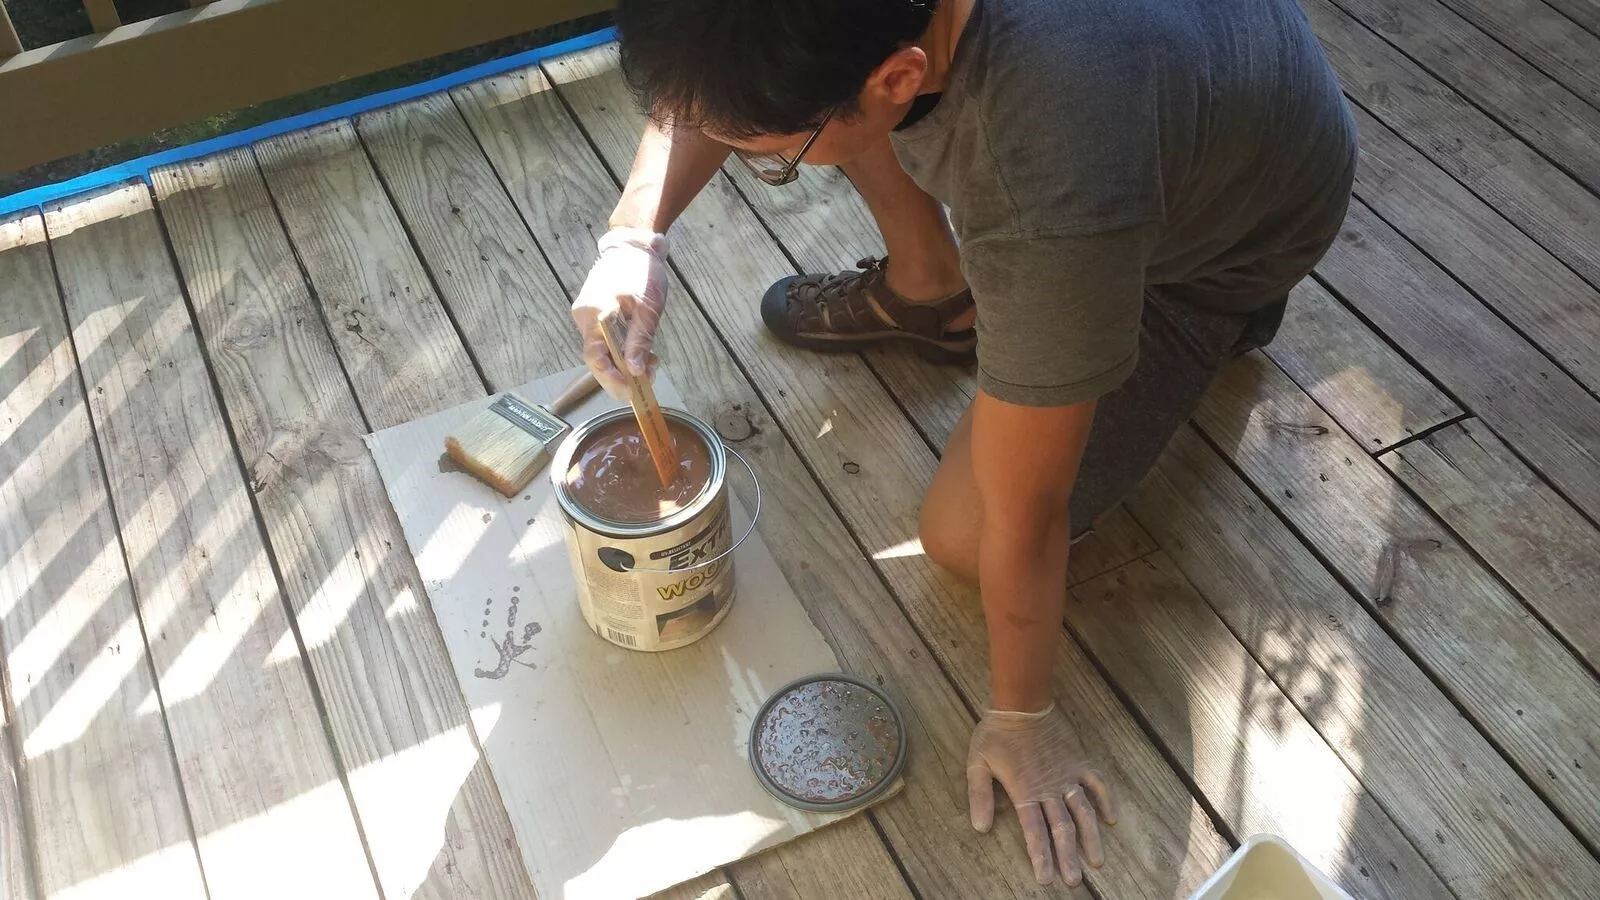
#2 Applying Deck Sealer
You can easily find the best quality sealant at an affordable price. But so many options can be confusing. So, remember these things to make the right choice.
Opaque finish sealants come with better weather and wear-fighting abilities. But if you want to show your deck’s natural wood and beauty, pick lighter finish sealants. However, lighter color sealant requires more cleanup and maintenance.
You also have the option to purchase a semi-transparent deck sealer, which is lightly pigmented. While it lets the grain show through, it changes the tone of your wood. Semi-transparent deck sealer ideally comes in shades of blue, red, brown, green, and gray.
Don’t forget to sand the deck to eliminate any grain raised during washing. Also, you can use an 80-grit to sweep or vacuum the decking thoroughly. This way, you can countersink popped screws and raised nails.
Before applying the sealant on the deck, tape the nearby surfaces like siding to protect it. Then choose between a paint roller or a bristle brush. Ideally, rollers can help you get faster results, but a bristle brush ensures the sealer goes into open pores and grain. Don’t forget to apply the sealer to the joints to increase the deck’s strength.
Do’s and Don’ts of Applying Deck Sealer
Do Wait for 30 Days Before Sealing a New Deck
After building a new deck, you must wait for at least 30 days. Why? Because the preservatives present in the wood need some time before they can properly soak up the sealant.
Once the 30 days are completed, do a simple water test to understand whether or not your deck is ready. After pouring water, if it beads up, the desk is still wet. But if the deck absorbs water, you can start the work.
Make sure you apply the sealant quickly after the wood becomes dry. If the dry deck is exposed to the sun for a long time, it will get damaged by moisture and UV rays.
Do Repair, Sand, and Wash Before Sealing
The key to successful and beautiful deck sealing is correct preparation. So, if one of the deck boards is broken, you must quickly repair or replace it.
If your deck is very old, sand it, especially the areas with moisture, before starting the sealant application work. Sanding helps the deck to absorb the sealant properly.
Do Use Proper Tools and Techniques
To seal a deck, you must use the right tools and techniques.
You can complete the work either from a standing position, on your knees and hand, or using an extending pole. Likewise, you need to choose between a paintbrush, roller, and even a paint spray.
Do not rush the process. Instead, work slowly to reach every inch of the deck for adequate coverage.
Avoid applying a thick sealant layer because it can be prone to chipping and peeling. Ideally, you should only apply one sealant layer. But if you wish to apply a second coat, wait for at least 24 hours so you don’t ruin the deck.
Do Apply Sealant Once a Year
Depending on your area’s climate, you can apply sealant once a year. It will keep your deck in good shape for a long time.
For instance, if you live in a hotter region, strictly follow the once-a-year rule of applying the sealant to the deck. But if your area receives moderate heat, applying sealant every two years will also work.
Do Cover Plants Before Sealant
Before you start sealing the deck, cover the plants around it to protect them from sealant spills and splatter. Failure to do so can be dangerous for plants because sealant on the plants can stop them from absorbing the nutrients.
Plastic sheeting or drop cloths will work best for covering the plants. Furthermore, use painter’s tape and cardboard to cover the door. Avoid using sticker tapes because they might peel away the finish from surfaces.
Don’t Confuse Paint, Stain, and Sealant
Remember that sealant, paint, and stain are three different things.
- Sealants: You can use sealant to protect the woods from water and moisture damage. The waterproof properties of sealants make them have thicker viscosity than stains. But sealant lacks pigmentation, which naturally blocks the UV rays.
- Stains: Many homeowners prefer using stains because they protect from UV rays and add color to the deck. But deck stain only offers moderate protection from the mixture.
- Paint: Lastly, paint comes in latex and oil-based finish. They not only lock moisture but also offer UV protection. But it’s not as durable as sealants or stains. Also, if there is any moisture during the paint application process, the wood bubble or the paint might chip.
Don’t Apply Sealant on Frosty Surfaces
Avoid applying the sealant on damp or frosty surfaces, as it can lead to uneven seals. In fact, the sealant can also bead up and can’t get absorbed by the wood. It can further create a mess and dangerous slipping hazard.
Don’t Disregard the Temperature
Always plan deck sealing work when the temperature is ideal. You should begin the work in the morning because harsh sun rays during noon can quickly evaporate the sealant.
Don’t Use Deck for 48 Hours
Once you have applied the sealant, do not use the deck for the next 48 hours. Using the deck before 2 full days can disrupt the sealant absorption process. As a result, you would have to reapply the sealant.
Don’t Take Shortcuts When Reselling a Deck
Many people take shortcuts to finish the deck sealing work, but you must not do it. Skipping the process of repairing and cleaning can result in color uniformity because the sealer will not stick to the wood.
Another shortcut is applying a thick layer of sealant. You must avoid it as well because the thick sealant layer takes more time to dry. Avoid cutting on the dry times and walking before the sealant dries completely.
Conclusion
Applying sealant on the deck is pretty simple and straightforward. You can complete the work on your own and save up to $500.
Sealing a deck includes only two steps, i.e., cleaning the deck and applying sealant. Remember to follow the do’s and don’ts to ensure the deck sealing work gets completed properly.
- Like
- Digg
- Del
- Tumblr
- VKontakte
- Buffer
- Love
- Odnoklassniki
- Meneame
- Blogger
- Amazon
- Yahoo Mail
- Gmail
- AOL
- Newsvine
- HackerNews
- Evernote
- MySpace
- Mail.ru
- Viadeo
- Line
- Comments
- Yummly
- Send in Text
- Viber
- Telegram
- Subscribe
- Skype
- Messenger
- Kakao
- LiveJournal
- Yammer
- Edgar
- Fintel
- Mix
- Instapaper
- Copy Link