This shop has been compensated by Collective Bias, Inc. and its advertiser. All opinions are mine alone.#SaveYourMemories #CollectiveBias Today we’re making a pallet wood picture frame!
Everyone has a family member who’s always asking for photos, and no – I don’t mean photos by email or through Facebook. That one aunt, grandparent or friend who would rather have physical photographs of you, your family and all the fun goings-on in your life. Today I’m sharing a fun pallet wood DIY project you can easily make and give as a Christmas gift!
Photo Printing Made Easy
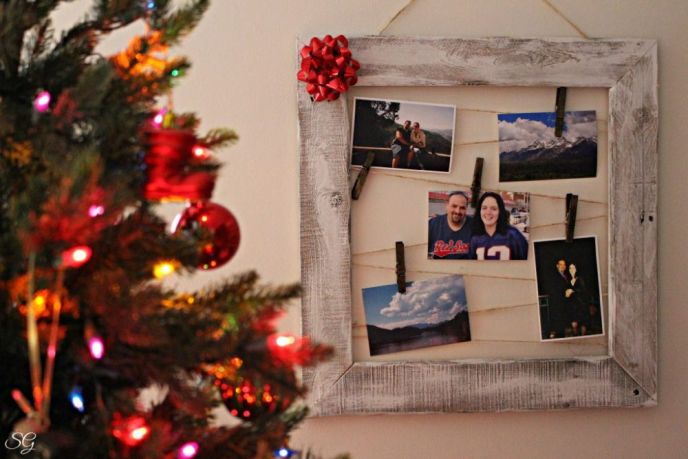
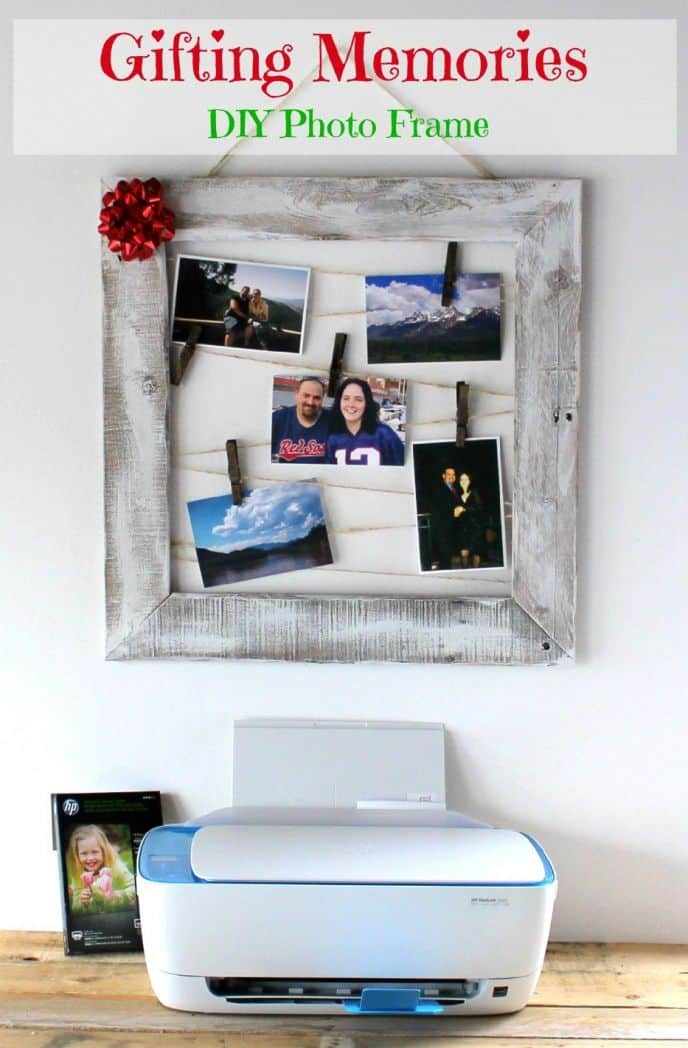
I have a creative DIY picture frame for you today! A perfect gift for someone who loves pictures hanging on their wall, not just popping up in their emails. A photo frame, made from an old wood pallet – which holds multiple photos!
I’m also sharing a sweet new printer we picked up at Walmart. It prints straight from your phone over Wi-Fi. So you can easily print the photos for photo books, frames and more; simply choose your photos size and print!
I plan on doing this sort of project often and I know I’ll get requests to make some for family and friends. With that in mind I headed to Walmart to grab some materials. I ended up coming home with a new printer, the HP Deskjet 3632 All-in-One Printer/Copier/Scanner.
This HP printer is wireless and allows you to print photos quickly and easily from your smartphone. With this printer, there are no more excuses to not send photos to grandma or include photos with your Christmas cards! We’ll talk about the printer in a second, but first lets make the pallet wood photo frame.

DIY Pallet Wood Picture Frame
To make this frame we’ll need
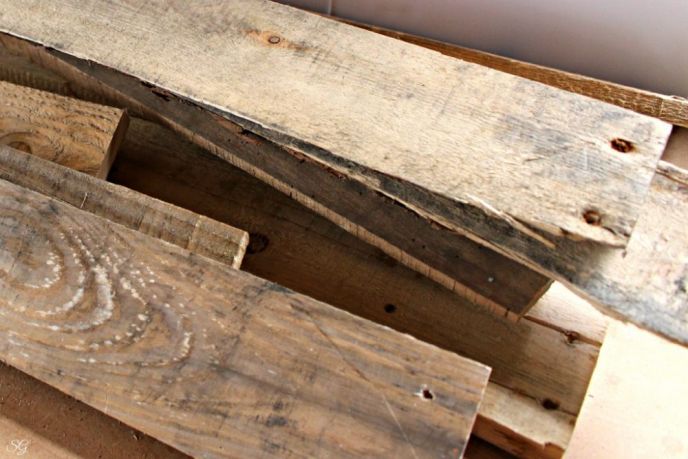
- Three pieces of pallet wood cut to 21.5″
- Sand Paper or electric sander
- Wood glue
- 3″ Screws
- Twine and staples
- Clothes pins and wood stain if you choose
- Utility knife
- PPE: Gloves, safety glasses, dust masks, proper clothing and other protective equipment
Step 1: Cut Boards to assure they’re all equal length – I cut mine to 21.5″.
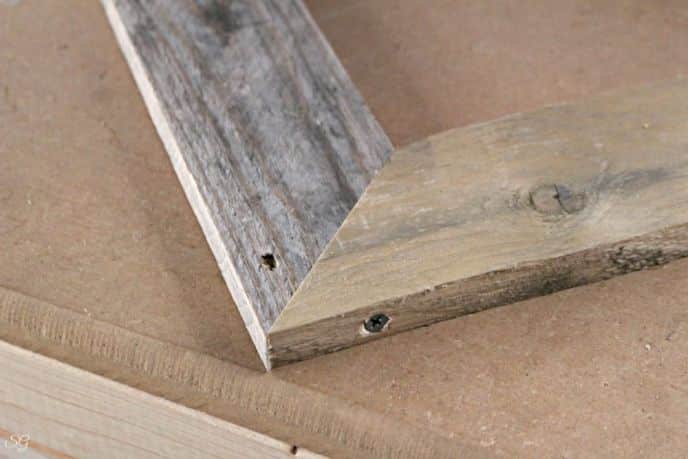
Step 2: Cut 45 degree angles on each end of each board to create a square frame.

Step 3: Pre-drill holes to accommodate 3 inch screws through the end of the boards. Pre-drilling helps prevent the boards from splitting. Countersink the screws slightly so they’re not on the surface of the wood. Use wood glue and screw the corners of the frame together as seen below.
Step 4: Use a utility knife to hew the edges of the wood to create a unique look. It doesn’t take much, lightly draw your knife across the corners of the boards. Use sand paper to smooth out any rough spots.

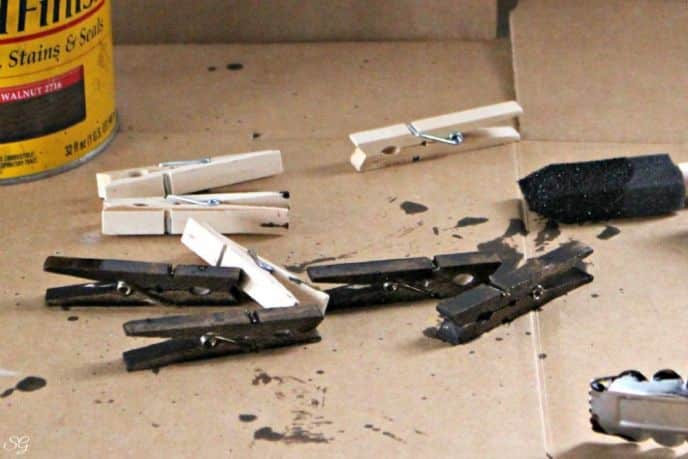
Step 5: Stain clothes pins. Leave them unstained if you wish, I’m adding a coat of Minwax Dark Walnut stain to mine.
TIP: Use gloves and an inexpensive pair of tongs to keep your fingers clean!
Step 6: Now that our frame has been assembled and the clothes pins are stained, it’s time to paint the frame – unless you want to leave it natural – that’s okay too! To paint the frame, I’m using a dry brush technique. The dry brush technique is a great way to give old wood a rustic charm.
How to dry bursh: To dry brush, you want very, very little paint on the bristles of your paint brush – much like stenciling. Paint using short strokes to create a rustic effect where some of the wood is painted, while other parts of the wood will be left natural. Apply more paint to some areas, like corners and less to other areas to give it a naturally aged look. I used white chalk paint, which requires no surface prep!

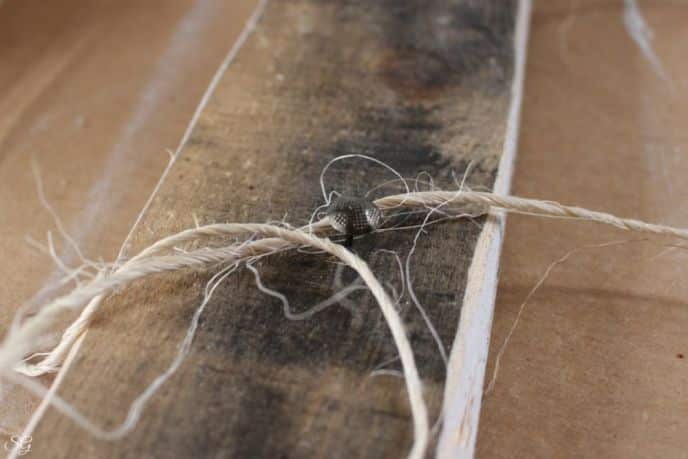
Step 7: Attach twine using upholstery nails. If your pallet wood is soft, you may choose to use some glue to help keep things in place. Another option would be to use a staple gun to attach the twine. I attached my twine in a zig-zag random pattern by nailing the twine in an off-set manner to the back of the frame and zig-zagging back and forth. I like the unique look it created!
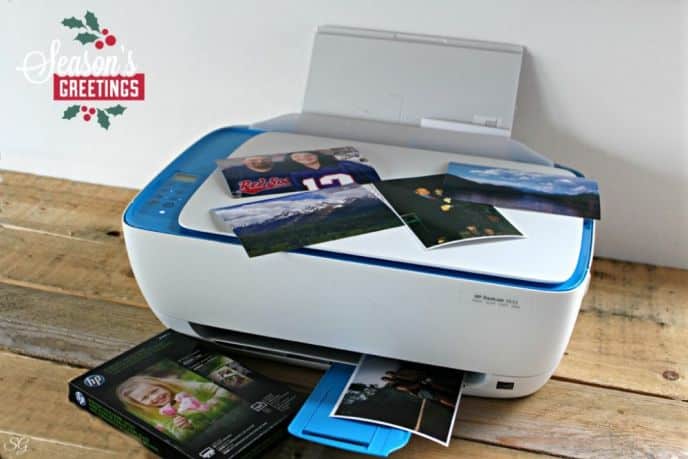
Step 8: Print Photos – see how easy it is to print from your smartphone below!
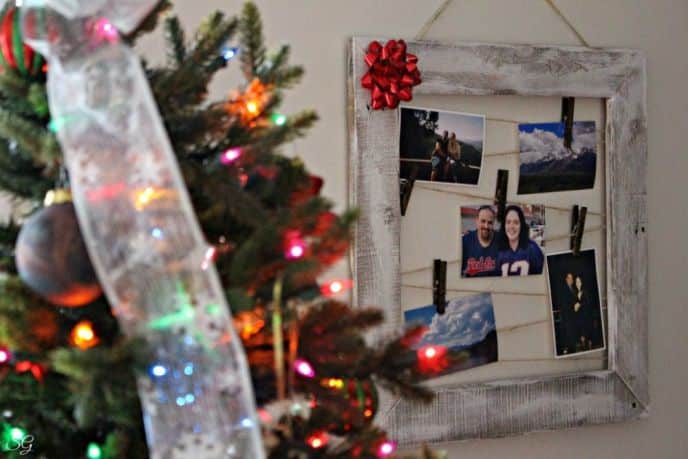
Step 9: Hang photos using clothes pins, put a bow on it and get ready to surprise someone with a cool, homemade gift!
Back to this printer which prints directly from your smartphone. It’s super easy to print wirelessly from your phone – it’s as easy as sharing on social media! Plus, this printer is not just for photos, it’s an all in one printer which does the printing, photo printing, copying and scanning too!
Related DIY:
- How to strike a perfect mix of DIY and readymade elements during renovation
- Best DIY Home Improvement Books
- DIY Plastic Bag Holder
Printing Photos From Your Smartphone
I’m super pleased with the print quality of my new HP printer. I was able to print photos straight from my smartphone and with original HP ink, I can print twice as many photos than with generic ink. I find when I take photos from my phone, they end up on Instagram or Facebook, or get lost before I need to go through and delete a bunch to make room for more pictures. With this printer I can print photos immediately right from my phone – easy peasy!
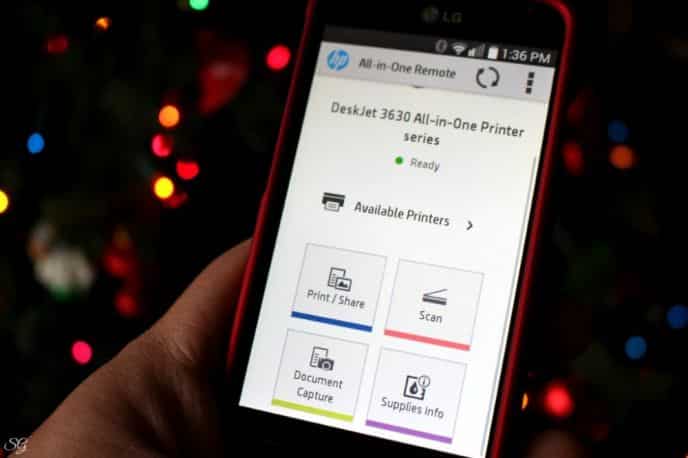
To print from your smartphone, you just follow the set up instructions, and you’re printing in no time at all – it’s literally just visiting a website and installing the app. You can print using the HP Print Service icon available in the “share” options while you’re viewing pictures in your photo gallery.

You can also click on the app icon itself to print photos and documents, control the scanner, capture documents and even check the ink levels of your printer!
Forget the photo frame, this printer would make an awesome gift too! Why not make it a bundle gift, some photos, a cool DIY pallet wood picture frame and a new HP printer – all set up and ready to go!

The HP 3632 all in one printer with wireless, smartphone and tablet print capabilities is very affordable, I picked mine up at Walmart for less than $60! Here’s a fun Christmas word search printable for you to test out your printer!

How will you share the gift of memories this year?
- Like
- Digg
- Del
- Tumblr
- VKontakte
- Buffer
- Love
- Odnoklassniki
- Meneame
- Blogger
- Amazon
- Yahoo Mail
- Gmail
- AOL
- Newsvine
- HackerNews
- Evernote
- MySpace
- Mail.ru
- Viadeo
- Line
- Comments
- Yummly
- Send in Text
- Viber
- Telegram
- Subscribe
- Skype
- Messenger
- Kakao
- LiveJournal
- Yammer
- Edgar
- Fintel
- Mix
- Instapaper
- Copy Link
Thanks for sharing this detailed tutorial. I am not very handy when it comes to power tools, but I think even I can handle this because the images are so clear! It’s a great gift for a loved one for the holidays. #client
This looks awesome! It would be a great gift to all the grandparents. They love hanging pictures of their granddaughter.
I love this idea!! We are always taking so many photos with how much we travel and explore the world. Perfect gift idea.
It’s really cool and forgiving paint to work with! Chalk paint is a type of paint which is typically used on wood furniture to give it a rustic or vintage look. It requires no prep, like primer, and can be easily distressed!
I’ve been hearing more and more about chalk paint lately. I have no idea what that is!
That is super cute. I’m working on something similar right now!
I totally love how that frame turned out. It is seriously cool looking. I’m going to have to put my HP printer to work and do this too!